Perfect Irish Scones: A Step-by-Step Baker's Guide

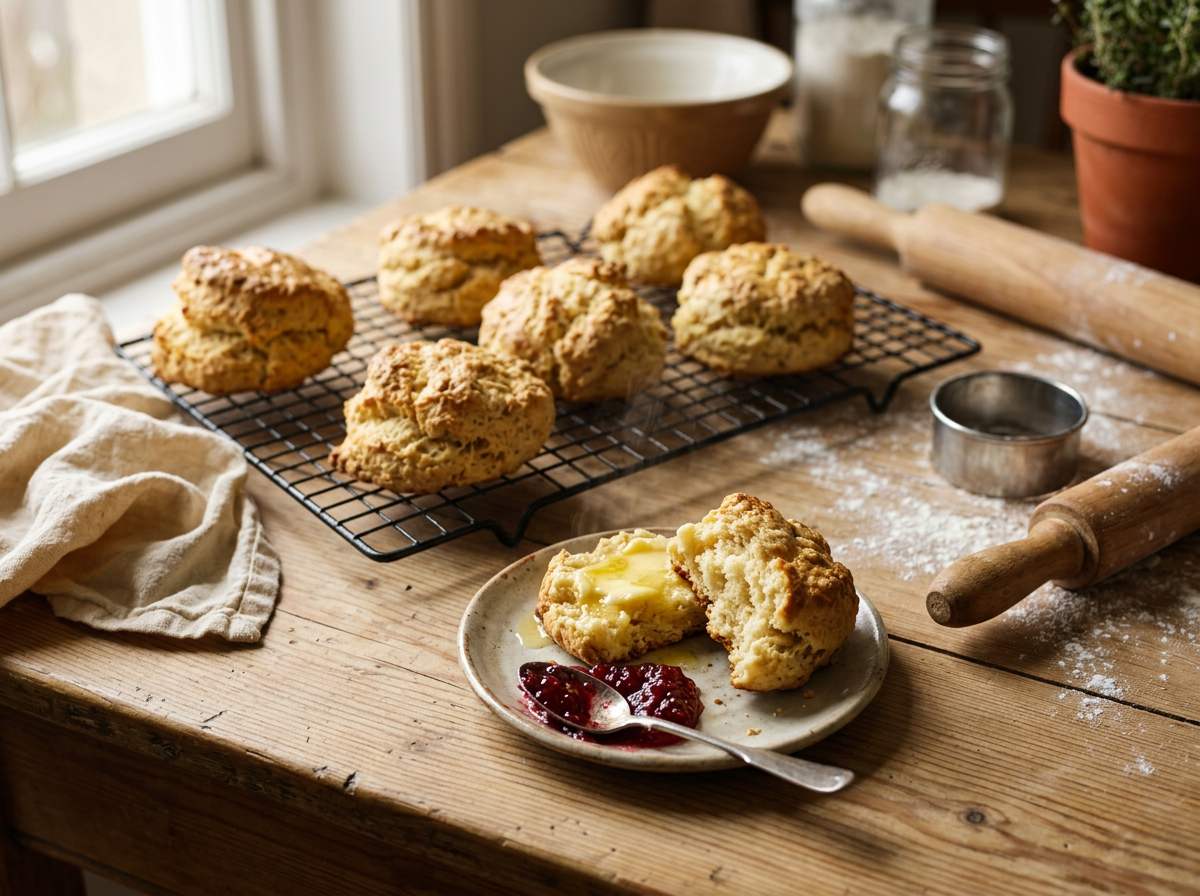
A scone is a small thing that is very easy to get slightly wrong. There is no long fermentation to hide behind, no icing to distract anybody. It's flour, butter, buttermilk and about twelve minutes of oven — and every one of those elements shows up in the finished result.
This is the method we use in the Kerrygold Kitchen. It has been tested more times than is entirely reasonable. It makes eight generous scones.
What you'll need
450g plain flour, plus extra for dusting. 2 level tablespoons baking powder. 1 teaspoon fine salt. 50g caster sugar. 115g Kerrygold Pure Irish Salted Butter, fridge-cold and cut into small cubes. 300ml buttermilk, cold. 1 egg, beaten, for glazing. A handful of sultanas if you're that way inclined — we won't judge either way.
Step one: get everything properly cold
This is the step people skip and it is the step that matters most. Butter must be hard — not softened, not room temperature, cold enough that the cubes hold their edges when you handle them. If your kitchen is warm, cube the butter and put it back in the fridge for ten minutes while you weigh everything else.
Cold butter in a hot oven is the entire mechanism. Those solid pieces of fat melt and release steam inside the dough, and that steam pushes the layers apart. Soft butter simply blends into the flour and you get a cake, not a scone.
Step two: rub in, but not too far
Sift the flour, baking powder and salt into a wide bowl — sifting genuinely helps here, because it aerates and it distributes the raising agent evenly. Stir in the sugar.
Add the cold butter cubes and rub them into the flour with your fingertips, lifting the mixture up out of the bowl as you go so air gets into it. Stop when the mixture looks like coarse breadcrumbs with some pieces still the size of a small pea. Do not chase a uniform sandy texture. Those visible flecks of butter are your rise.
Step three: bring it together, barely
Make a well in the centre and pour in the cold buttermilk all at once. Using a table knife held upright, cut through the mixture in short strokes until it comes together into a shaggy, slightly sticky mass. A knife rather than a hand keeps the dough cool and keeps you from kneading, which is the temptation.
Tip it onto a floured surface. Fold it over on itself three times — three, not ten — pressing gently. This builds just enough layer structure without developing gluten. The dough should look untidy. Untidy is correct.
Step four: cut properly
Pat, don't roll, to a thickness of about 4cm. Yes, that's thicker than you think. A thin scone cannot rise tall no matter what you do to it.
Dip a 6cm cutter in flour and press straight down, then lift straight up. Do not twist. Twisting seals and pinches the cut edge and the scone will rise lopsided or not at all. Re-flour the cutter between each one. Press the offcuts together lightly and cut the last two — they'll be slightly less handsome and taste exactly the same.
Step five: oven
Heat the oven to 220C fan 200C, gas mark 7, and heat it properly — give it a full fifteen minutes past the point it says it's ready. Place the scones close together on a lined tray, about 2cm apart, so they support each other as they climb.
Brush the tops only with beaten egg. If the glaze runs down the sides it will glue the layers shut and cost you height. Bake for 12 to 14 minutes until they're well risen and deeply golden. Tap the base — it should sound hollow.
The three mistakes we see most
Warm butter. Over-kneading. A twisted cutter. If your scones come out flat and dense, it will be one of those three, and it will almost never be the recipe.
How to eat them
Warm, split by hand rather than cut with a knife, with a thick slab of Kerrygold Pure Irish Salted Butter melting into the crumb. Jam and cream are welcome but they are guests, not hosts. Scones are at their absolute best within about forty minutes of coming out of the oven, which is, conveniently, roughly how long it takes to make a pot of tea and find someone to share them with.
Written by
Niamh Brennan
Food Editor, Kerrygold Kitchen
Niamh Brennan grew up on a small dairy farm outside Nenagh, County Tipperary, where the day started with milking and ended with a loaf of soda bread on the range. She trained as a chef in Dublin, spent six years in restaurant kitchens in Cork and London, and now leads the Kerrygold Kitchen — the small test kitchen where every recipe we publish is cooked, tasted, argued over and cooked again.
Niamh writes about butter the way other people write about wine: seasonally, and with a great deal of feeling. She is happiest developing scone recipes, visiting the farming families who supply our co-operative, and reminding anyone who will listen that good baking begins with good butter at the right temperature.